
Offers section overview
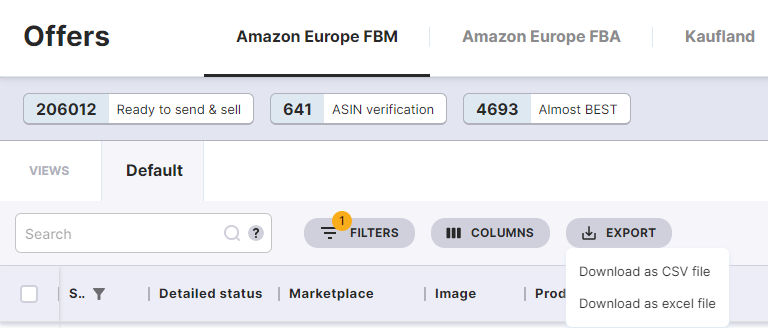
Export of offers to file
When you click on the export button, a menu will appear where you can choose in which format the file will be created: Excel (.xlsx) or CSV.
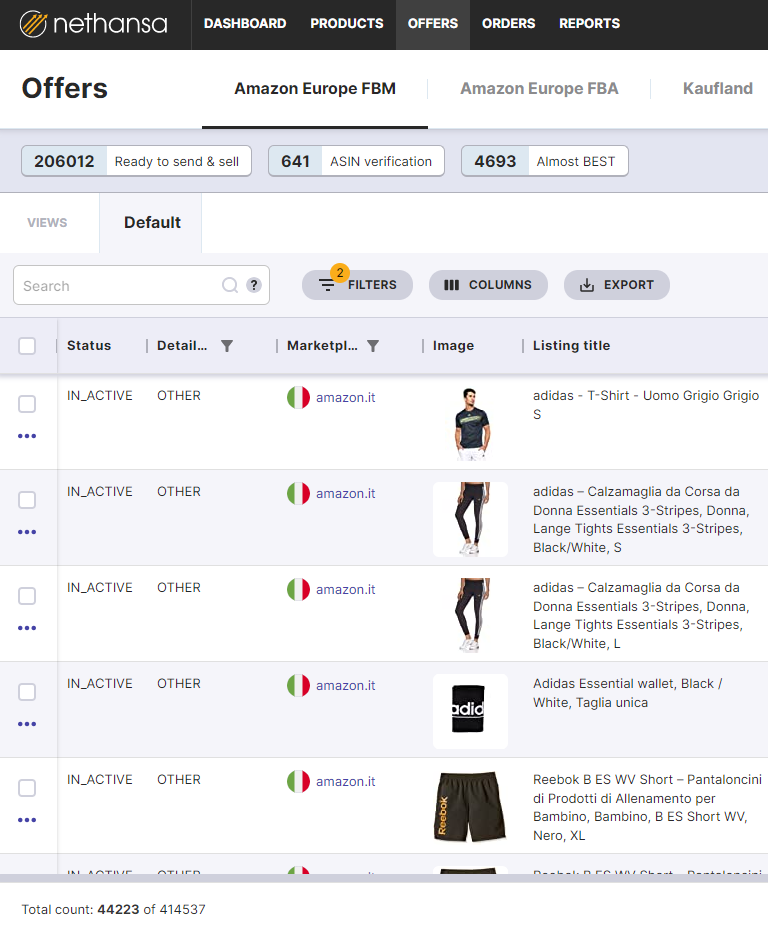
At one time, 5000 offers can be downloaded to an .xlsx file or 50000 in .csv format.
The export will be carried out on all visible offers. Their number can be limited by using the appropriate filters. In the bottom left corner, there is a counter showing the number of visible offers.
Once the export has been completed, a notification will appear from where the file can be downloaded.

Creating and saving your own views
The new grid allows you to freely configure the columns, their visibility, and their order. In addition, columns can be pinned permanently to the left or right.
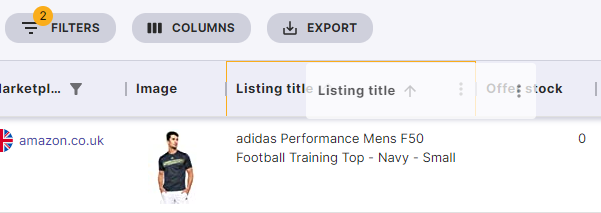
To change the order of the columns, simply hover the cursor over the column header and, holding down the left mouse button, move the entire column to the required position.
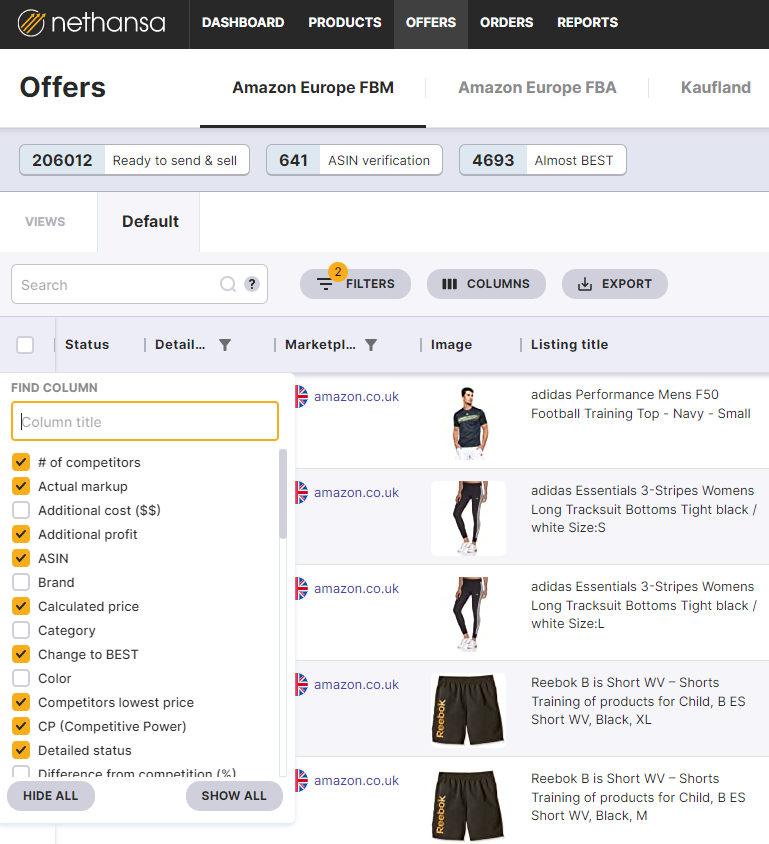
The visibility of the columns can be managed in two ways.
- The first is by clicking on the Columns button, a list of all available columns will expand, where you can select and deselect data of interest.
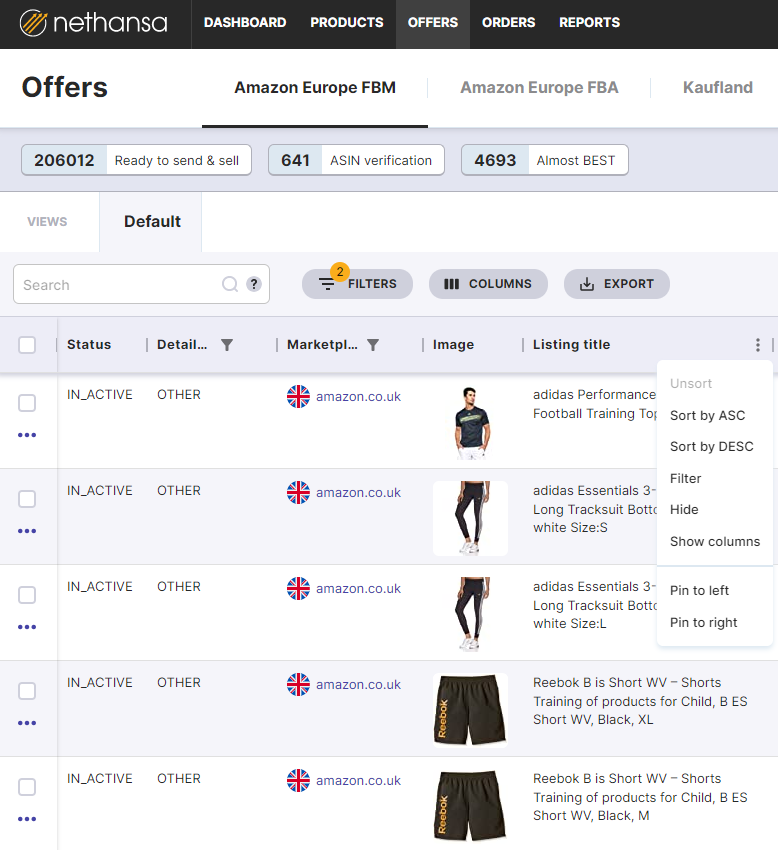
- The second option is to click on the menu next to the column, where we also have the option to hide columns. In addition, we can pin a column to the left or right, so that it will be visible when the grid is scrolled horizontally. From the same menu, we can also enable the selection of visible columns.
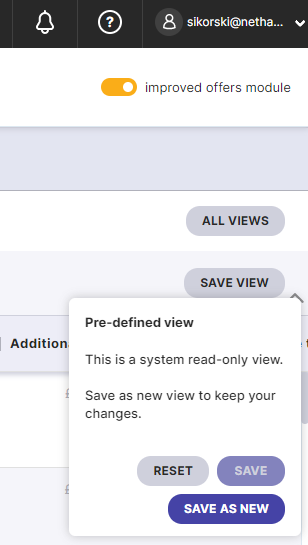
Once you have created a view you are interested in, you can save it and use it every time. When you click on save view, a menu will appear where you can save the current view as new.
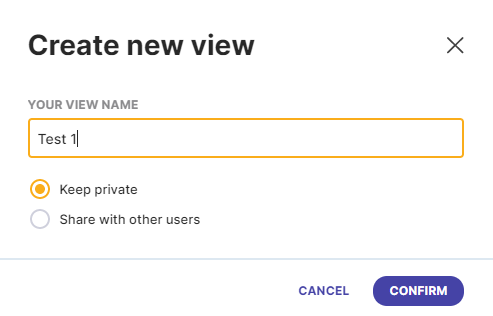
When saving, you can select one of two options. The private view, will only be visible to the user who created it. The second option will make the view you have created visible to all users for the given account.
When creating a view, the filters and sorting set will also be saved.
IMPORTANT: A view created but not saved will be lost when you log out.
When making changes to an already created view, simply save them using the save option. The default view in the default view cannot be saved and you must use the save as new option.
Extended filter system
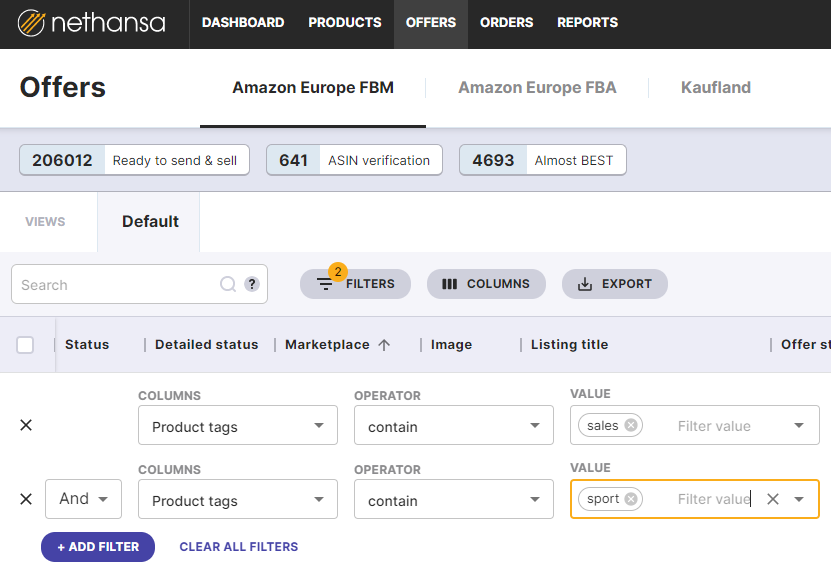
The new offer grid introduces an enhanced filter system, which can be used in two ways. The first method is to click on the filters button. The number displayed on the button corresponds to the number of filters used. In addition, using the "And" / "Or" operator, you can decide whether the searched offers are to meet all of them "And" or one of them "Or" conditions. For example, you want to see listings that are active or inactive, so that you do not have to deal with listings that are not found.
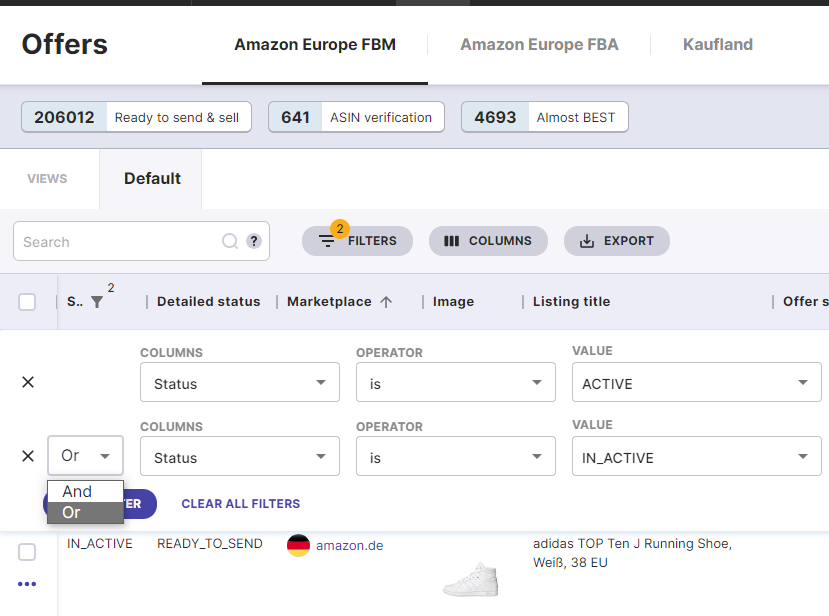
For another example, you want to select offers that have two tags at the same time: 'sport' and 'sale'. In this case, you would use the "And" operator.
The second option to invoke filters is to call the menu next to the column by clicking on the three dots and selecting Filter. By default the system will set the filter on a specific column. In this case, this would be the product name. Adding a filter using this method does not delete previously set filters, it just adds another one.
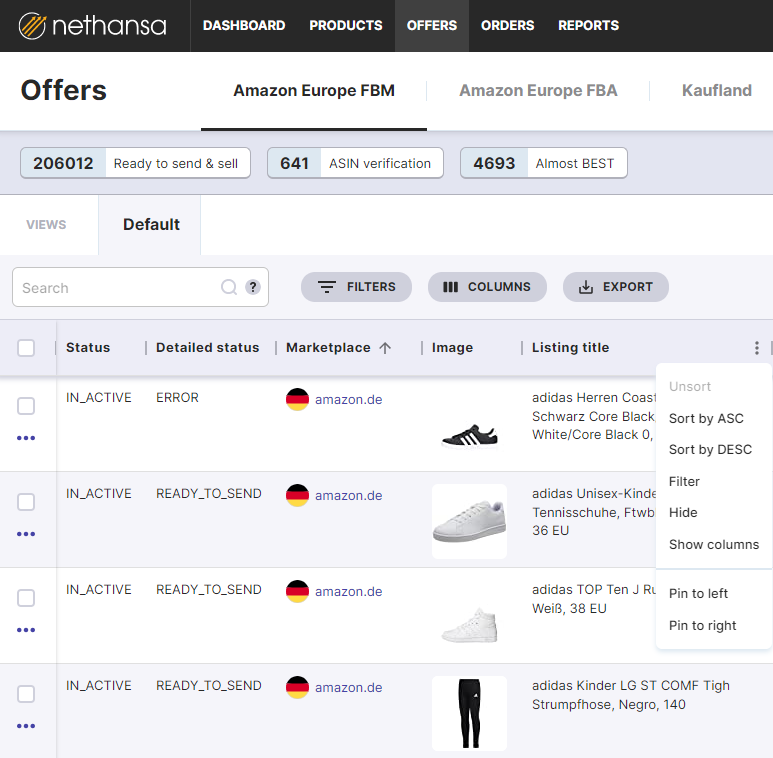
In addition, in the menu next to the column, you can choose to sort by it. You can also use the arrow that appears next to the column name.